What are the installation precautions for an Oil Scavenger Pump?
 Language
 Français
 Español
 Árabe
Árabe
 Deutsch
 简体中文
简体中文
 Português
 Русский
 日本語
日本語
 한국어
한국어
 हिंदी
हिंदी
 Prancis
 Türkçe
 Tiếng Việt
 Italiano
 ไทย
ไทย
-
Tel
+86 15275228746
-
WhatsApp/WeChat
8615275228746
Blog
Company intro
10000m 2+ Cover Area QINGDAO TOP RUN INTERNATIONAL TRADE CO., LTD Qingdao Top Run International Trade Co., Ltd. has been a professional and leading supplier of construction machinery spare parts in China for over 15 years. With extensive experience and expertise, we have established strong partnerships with top manufacturers to offer a wide range of genuine and OEM parts for brands such as XCMG, SANY, ZOOMLION, SHANTUI, LIUGONG, and more. 80+ Employees View more Looking for properate products? Contact us
Send Message
What are the installation precautions for an Oil Scavenger Pump?
Nov 24, 2025
View: 127
Hey there! As a supplier of Oil Scavenger Pumps, I've seen my fair share of installation processes. And let me tell you, getting the installation right is super important. In this blog, I'm gonna walk you through the installation precautions for an Oil Scavenger Pump. So, whether you're a DIY enthusiast or a professional mechanic, this info will come in handy.
Pre - installation Checks
Before you even think about installing an Oil Scavenger Pump, there are a bunch of checks you need to do. First off, make sure you've got the right pump for your specific application. You don't wanna end up with a pump that's either too big or too small for your system. Check the specifications of your equipment and match them with the Oil Scavenger Pump you've purchased.
Next, inspect the pump thoroughly for any visible damage. Look for cracks, dents, or any signs of wear and tear. If you find anything wrong, don't try to install it. Contact us right away, and we'll sort it out for you. You also need to check the gaskets and seals. They should be in good condition and free from any leaks. A faulty gasket can lead to oil leaks, which can cause all sorts of problems down the line.
Another important thing is to clean the installation area. Remove any dirt, debris, or old oil from the mounting surface. A clean surface ensures a proper seal and prevents contaminants from getting into the system. You can use a degreaser and a clean cloth to do this. Make sure the area is completely dry before you start the installation.
Mounting the Pump
When it comes to mounting the Oil Scavenger Pump, you need to be really careful. First, find the right location. It should be easily accessible for maintenance and inspection. Also, make sure it's away from any moving parts or sources of heat. The pump needs to be mounted securely to prevent vibrations, which can damage the pump and other components in the system.
Use the right mounting hardware. We usually provide the necessary bolts and nuts with the pump, but make sure they're the correct size and grade. Tighten the bolts evenly to ensure a proper fit. Over - tightening can damage the pump, while under - tightening can cause leaks and vibrations.
If you're mounting the pump on a bracket, make sure the bracket is strong enough to support the weight of the pump. Check the bracket for any signs of damage or weakness. You may need to reinforce it if necessary.
Connecting the Hoses
Connecting the hoses to the Oil Scavenger Pump is a crucial step. First, make sure you've got the right hoses for the job. They should be the correct size and material to handle the oil flow and pressure. Check the hoses for any kinks, cuts, or leaks before you connect them.
When connecting the hoses, use the appropriate fittings. Make sure they're tightened properly to prevent leaks. You can use a wrench to tighten the fittings, but be careful not to over - tighten. Some hoses may require a special sealant or O - ring to ensure a leak - free connection.
It's also important to route the hoses properly. Avoid sharp bends or twists, as they can restrict the oil flow and cause the pump to work harder. Make sure the hoses are secured in place to prevent them from moving around during operation.
Electrical Connections (if applicable)
If your Oil Scavenger Pump is electrically powered, you need to pay extra attention to the electrical connections. First, make sure you've got the right power supply. Check the voltage and amperage requirements of the pump and match them with your power source.
Before making any electrical connections, turn off the power supply to avoid the risk of electric shock. Use the correct wiring and connectors. Make sure the wires are properly insulated and free from any damage. Tighten the connections securely to prevent loose wires, which can cause short circuits or other electrical problems.
If you're not familiar with electrical work, it's best to hire a professional electrician to do the job. They have the knowledge and experience to ensure the electrical connections are safe and proper.
Testing the Pump
Once you've installed the Oil Scavenger Pump, it's time to test it. Before starting the pump, fill the system with the appropriate oil. Check the oil level and make sure it's within the recommended range.
Start the pump and let it run for a few minutes. Listen for any unusual noises, such as grinding or rattling. These could be signs of a problem with the pump or the installation. Check for any leaks around the pump, hoses, or fittings. If you find any leaks, turn off the pump immediately and fix the problem.
Monitor the pressure and flow rate of the oil. They should be within the specifications of the pump. If the pressure is too high or too low, it could indicate a problem with the pump or the system. You may need to adjust the settings or check for any blockages in the hoses or the pump itself.
Compatibility with Other Components
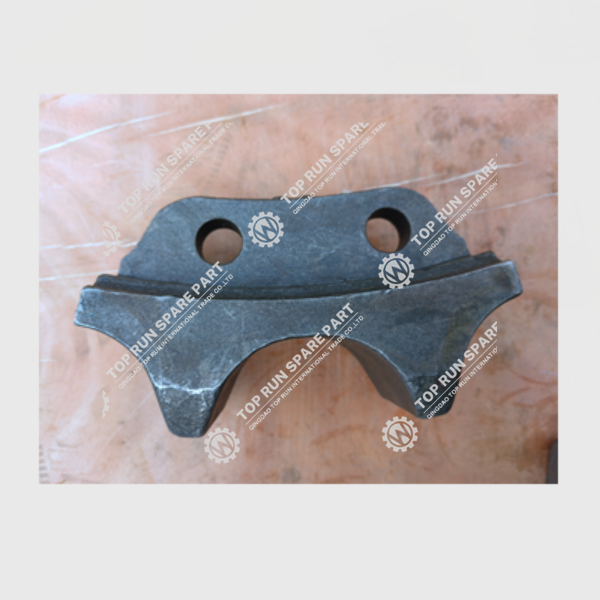
Your Oil Scavenger Pump doesn't work in isolation. It needs to be compatible with other components in the system, such as the Water Tank Radiator for Shantui and the 154 - 27 - 12273 Sprocket Teath. Make sure the oil flow and pressure are suitable for these components.
For example, if the pump is supplying oil to a radiator, the oil flow rate needs to be sufficient to cool the radiator effectively. If the flow rate is too low, the radiator may overheat, which can cause damage to the engine or other parts of the system.
Similarly, if the pump is connected to a sprocket teath, the oil pressure needs to be right to lubricate the sprocket properly. Insufficient lubrication can lead to increased wear and tear on the sprocket, reducing its lifespan.
Maintenance After Installation
After the successful installation and testing of the Oil Scavenger Pump, regular maintenance is essential. Check the oil level regularly and top it up if necessary. Change the oil and the filter according to the manufacturer's recommendations.
Inspect the pump and the hoses for any signs of wear and tear. Replace any worn - out parts immediately to prevent further damage. Keep the pump clean and free from dirt and debris.
Conclusion
Installing an Oil Scavenger Pump is not a difficult task if you follow these precautions. By doing a thorough pre - installation check, mounting the pump correctly, connecting the hoses and electrical components properly, and testing the pump after installation, you can ensure the pump works efficiently and lasts a long time.
If you have any questions or need further assistance with the installation of our Oil Scavenger Pump, don't hesitate to reach out. We're here to help you with all your needs. Whether you're looking for technical support or want to discuss a bulk purchase, we're just a message away. Let's work together to keep your equipment running smoothly!
References
- "Pump Installation and Maintenance Guide" - Industry Standard Manual
- "Oil System Basics" - Automotive Engineering Handbook
Categories
QR Code


