Are there any special tools needed to install a motor grader blade?
 Language
 Français
 Español
 Árabe
Árabe
 Deutsch
 简体中文
简体中文
 Português
 Русский
 日本語
日本語
 한국어
한국어
 हिंदी
हिंदी
 Prancis
 Türkçe
 Tiếng Việt
 Italiano
 ไทย
ไทย
-
Tel
+86 15275228746
-
WhatsApp/WeChat
8615275228746
Blog
Company intro
10000m 2+ Cover Area QINGDAO TOP RUN INTERNATIONAL TRADE CO., LTD Qingdao Top Run International Trade Co., Ltd. has been a professional and leading supplier of construction machinery spare parts in China for over 15 years. With extensive experience and expertise, we have established strong partnerships with top manufacturers to offer a wide range of genuine and OEM parts for brands such as XCMG, SANY, ZOOMLION, SHANTUI, LIUGONG, and more. 80+ Employees View more Looking for properate products? Contact us
Send Message
Are there any special tools needed to install a motor grader blade?
Aug 4, 2025
View: 133
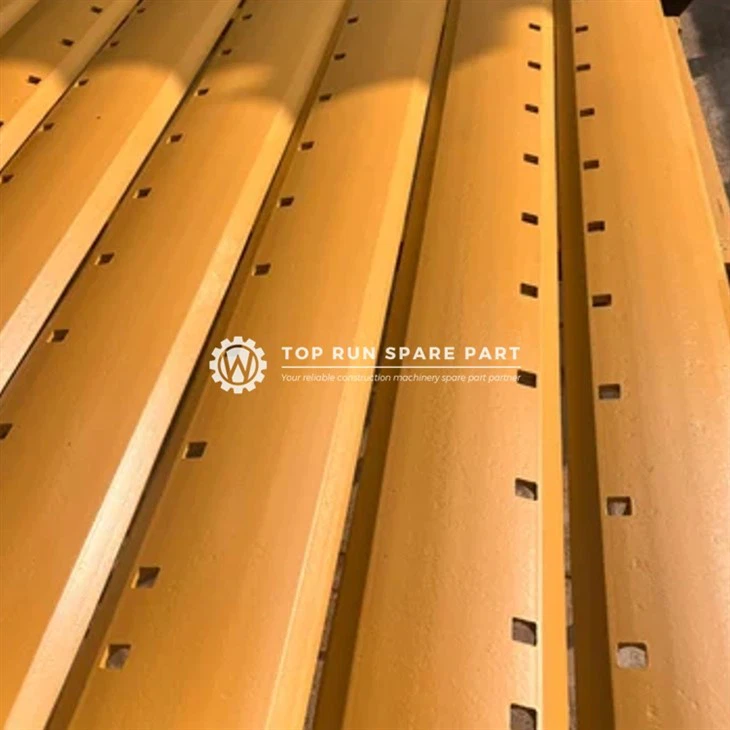
Hey there! As a supplier of Motor Grader Blades, I often get asked about the special tools needed to install these blades. So, let's dig into this topic and break it down.
First off, what exactly is a motor grader blade? Well, a Motor Grader Blade is a crucial part of a motor grader, which is a construction machine used for leveling and grading surfaces. You can check out our range of Motor Grader Blade on our website. These blades are designed to withstand heavy - duty use and are made from high - quality materials to ensure durability.
Now, when it comes to installing a motor grader blade, there are indeed some special tools that can make the job a whole lot easier. One of the most important tools is a hydraulic jack. A hydraulic jack is used to lift the grader to a suitable height so that you can access the blade mounting area. It's essential to have a jack with a sufficient weight capacity to safely lift the grader. Without a proper hydraulic jack, trying to lift the grader manually would be extremely difficult and dangerous.
Another tool that you'll need is a socket set. You'll use the socket set to remove and install the bolts that hold the blade in place. Different graders may have different bolt sizes, so it's a good idea to have a comprehensive socket set that covers a wide range of sizes. This way, you can be sure that you have the right tool for the job.
A torque wrench is also a must - have. When you're installing the blade, it's crucial to tighten the bolts to the correct torque specification. Over - tightening or under - tightening the bolts can lead to problems down the road, such as the blade coming loose or uneven wear. A torque wrench allows you to apply the exact amount of torque required, ensuring a secure and proper installation.
In addition to these basic tools, you might also need a pry bar. A pry bar can be used to align the blade with the mounting brackets. Sometimes, the blade may not fit perfectly into place, and a pry bar can help you nudge it into the correct position. It's a simple but effective tool that can save you a lot of time and frustration.
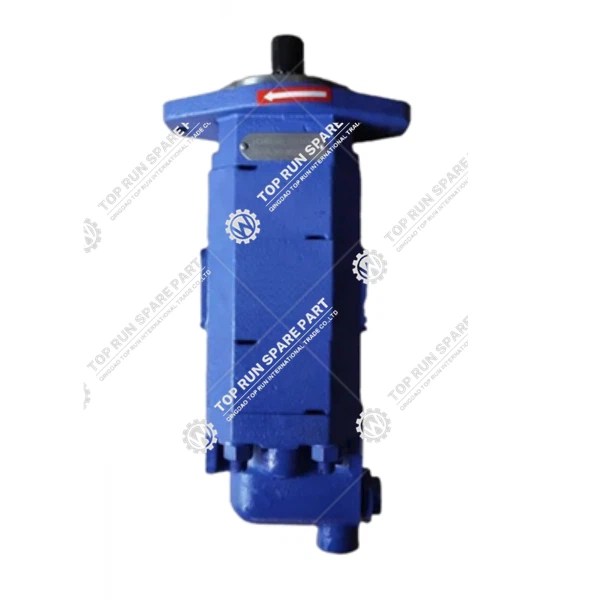
Now, let's talk about some other related parts that you might encounter during the installation process. For example, the Gear Pump 803084054 is an important component in the hydraulic system of the grader. If there are any issues with the hydraulic system during the blade installation, you may need to check the gear pump. A malfunctioning gear pump can affect the lifting and positioning of the blade, so it's important to keep it in good working condition.
When it comes to the actual installation process, it's a good idea to follow the manufacturer's instructions carefully. Each grader model may have slightly different installation procedures, and the manufacturer's guidelines will ensure that you do it correctly. Before you start, make sure to clean the mounting area thoroughly. Any dirt, debris, or rust can prevent the blade from fitting properly and can also lead to premature wear.
Once you've removed the old blade, inspect the mounting brackets for any signs of damage or wear. If there are any issues with the mounting brackets, it's best to address them before installing the new blade. This will help ensure a long - lasting and trouble - free installation.
When installing the new blade, start by aligning it with the mounting brackets. Use the pry bar if necessary to get it into the right position. Then, insert the bolts and use the socket set to start tightening them. But don't fully tighten the bolts just yet. It's a good idea to go around and tighten each bolt a little bit at a time to ensure even tightening.
After all the bolts are partially tightened, use the torque wrench to tighten them to the correct torque specification. Make sure to double - check the torque settings to avoid any mistakes. Once all the bolts are tightened, lower the grader using the hydraulic jack and give the blade a final inspection. Check for any signs of misalignment or looseness.
If you're in the market for high - quality Grader Blades, look no further. We offer a wide range of grader blades that are designed to meet the needs of different graders and applications. Our blades are made from top - notch materials and are built to last.
Whether you're a professional grader operator or a DIY enthusiast, having the right tools and parts is essential for a successful blade installation. If you have any questions about the installation process or need help choosing the right blade for your grader, don't hesitate to reach out. We're here to assist you every step of the way. Contact us to discuss your requirements and start the procurement process. We're confident that we can provide you with the best solutions for your motor grader blade needs.
References:
- General knowledge of motor grader maintenance and repair
- Manufacturer's manuals for various motor grader models
Categories
QR Code


